|
By Chuck Leinweber - Harper, Texas USA |
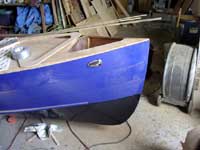
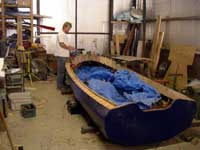
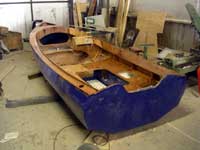
You may remember that at the end of Part 3, I said that painting the hull would be the next step. It was, but i failed to get any pictures of the process. Suffice it to say we painted it Royale Blue - Bonham's choice. We bought a name brand (Behr) Latex porch and floor enamel and it has proven to be a good choice.
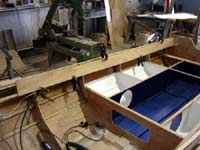
We mounted the "retro" looking nav lights so we could do the wiring while the decks were off.
(click images for larger views)
|
|
|
 |
Once the hull dried and we turned it over, we started alternately sanding/filling the interior and fitting pieces of deck and coaming when we got tired of that.
|
|
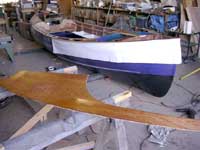
| The deck goes on in four sections. We did them two at a time. Here you can see the starboard foredeck section glued up and ready to place on the boat. Note the tape and paper mask to catch glops and drips of epoxy. |
|
|
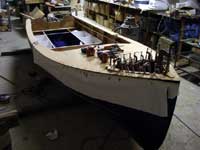 |
We screwed the port and starboard foredeck sections down to the boat with stainless steel screws and clamped the anchor well doubler. We had to remember to leave it in the well before screwing the deck sections down.
|
|
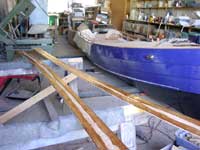
| In the photo above you can see the aft deck sections more or less in place. In this shot, they have been glued and are waiting to be screwed and clamped in place |
|
|
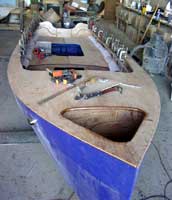 |
Here you can see the clamps holding the rear deck sections. the outer joints were screwed down as it would have been a lot of trouble to clamp them. In the forground the anchor well has been sanded a bit and looks decent. |
|
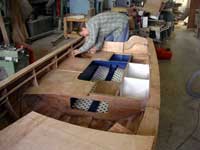
| Bonham decided on two spash wells - one in each corner of the rear deck - for the fuel tank and battery. During this part of the project we walked quite a bit on the painted parts of the interior but the paint never scratched at all. |
|
|
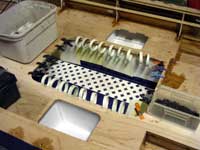 |
Both sides of the seat decks glued down with my PVC pipe clamp collection. If you look closely, you can see the plastic lattice that we cut to go on the floor. it keeps you up out of the water and sand and it protects the paint. |
|
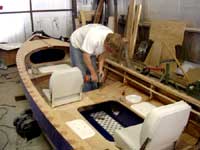
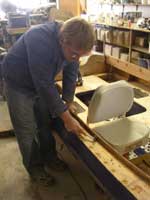
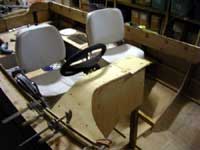
| Another thing Bon wanted was some cushioned seats with backs. They have swivels on the bottom and mount with bolts. Here he is drilling holes for those. |
|
|
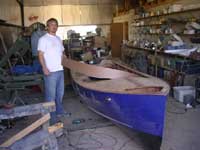 |
The cockpit coaming was a challenge. We decided to make a template out of some 1/8" fiberboard - the one you see here is the first try which was later discarded. |
|
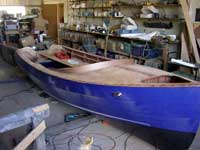
| With the template in place, it is starting to look like a boat. Later we found the the angle of this template was uncomfortable to lean back against when sitting in the forward seats. Thus the second template. |
|
|
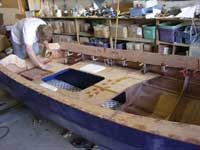 |
We glued in the rear part of the coaming first. While that was setting up, we had some extra epoxy and used some to make filler with which we filled screw holes and cracks and smoothed our fillets. There are lots of fillets on this boat. |
|
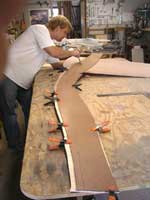
| The coaming is about 3/8" thick so we used some 3/16" ply to make the forward part easier to bend. We doubled it, of course, to come up with the full thickness. Here, Bonham is using the good template to mark one of the ply pieces. We cut them all oversize about a half inch to be trimmed later. |
|
|
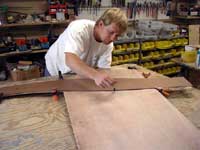 |
The light ply we got was in 2' x 4' sheets and bent best in the 2 foot direction, of course, so we had to cut short pieces. In retrospect, that may have been a blessing as it made applying the pieces easy. |
|
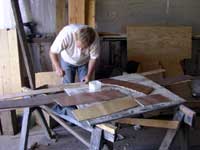
| First we screwed and clamped the outside layer of coaming in place, then we painted epoxy on it. Next, we brushed liquid resin on the second layer pieces (seen here) and then spread a layer of thickened epoxy over them. |
|
|
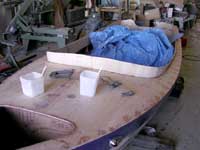 |
Before we clamped all these epoxy coated pieces on the boat, we spread an old polytarp under the joint to catch the drips. If you look closely, you can see the trim line marked on the outside pieces. |
|
| Enlarge this picture (by clicking on it) and you will see that we have once more made good use of our clamp collection to get a good glue-up job of the coaming. |
|
|
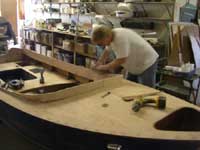 |
After going back over the trim marks and making a few adjustments, we cut the excess with a jig saw and, as seen here, sanded the edge with a big block. After that, we painted the deck/coaming joint with epoxy and formed a fillet all the way around. |
|
| After the coaming/deck joint fillet was mostly cured, we used a specially modified scraper to smooth it. Epoxy always scrapes more easily than it sands, and it scrapes best just before a full cure. We were having cool evenings so the time between applying the fillet one afternoon and scraping the next morning was just right. |
|
|
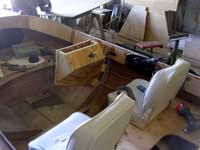 |
The last bit of wood work was building the helm. The plans are a bit vague on this point, so we started holding scraps of ply up and screwing them together until we had something that seemed to work and didn't look too bad. |
|
| Then, one-by-one, we replaced the scraps of ply with good marine ply or lumber. When that was done to our satisfaction, we glued the whole thing up. The piece you see curved into the coaming helped stiffen the whole assembly. |
|
|
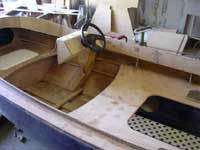 |
Once the epoxy set up, we rounded off the corners and the thing did not look half bad. There will be a few instruments and switches added later. |
|
| There is a lot of debate about whether or not ply should be epoxy coated or not. I like to put on a seal coat of thinned epoxy over hardwood plywood as I think it makes a harder surface that can be sanded smooth more easily. |
|
|
|