 Custom Search
|
|
| sails |
| plans |
| epoxy |
| rope/line |
| hardware |
| canoe/Kayak |
| sailmaking |
| materials |
| models |
| media |
| tools |
| gear |
 |
 |
| join |
| home |
| indexes |
| classifieds |
| calendar |
| archives |
| about |
| links |
| Join Duckworks Get free newsletter Comment on articles CLICK HERE |
|
|
| October Treasure Chest |
Send
items to chuck.leinweber@gmail.com for inclusion here next month. |
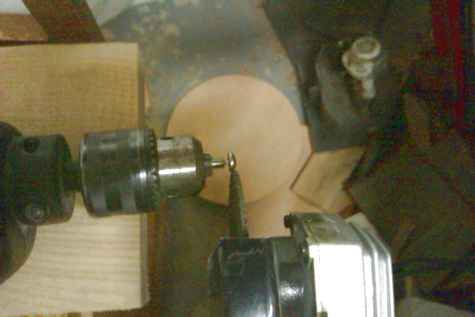
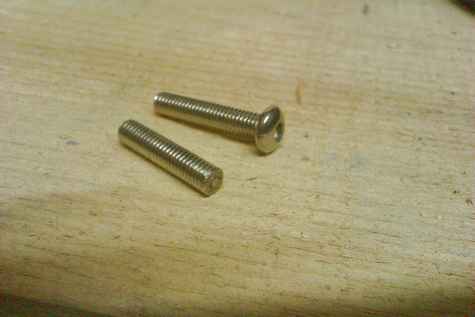
Screw and StudsDo you ever cut screws or studs to length with a cutting disc and have an awkward ugly burr to tidy up afterwards? Putting the threaded part in a drill and rotating it whilst cutting substantially reduces the burr.
Charles
Plastic HooksHave you ever tried to put those plastic hooks on the end of shock cord? It is very hard and sometimes they come right off. Here is how I have started doing it: CellwoodI got a sample of this stuff from a fellow in Taiwan. It is pretty amazing stuff which I think may have applications for boat building. It is waterproof and apparently UV resistant. I was thinking of using it for rubrails or gunnels. I guess it costs about as much as Teak so you would not want to build a whole boat out of it. Anyone else think of an application? I understand that they are in talks to have the stuff produced in the US near Atlanta. Chuck 'the duck' Leinweber Cutting the Cone's Staves on the Tablesaw
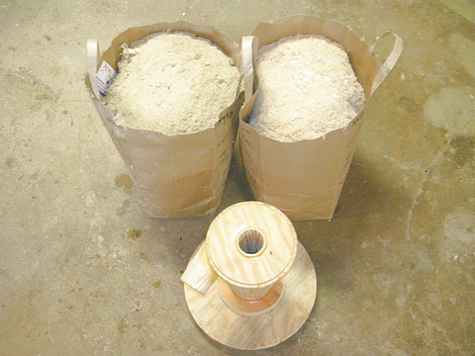
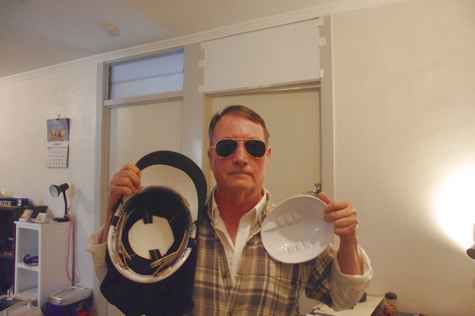
Start with a 15 inch long piece of 1x6 or plywood about the same size. Tilt the tablesaw to 10 degrees and rip off one edge of the 1x6. Do NOT move the fence! Mark that edge 12 inches back from the end. At the end make a mark 1/4 inch in from the edge. At the mark, move in 1/2 inch and make a mark. Now align a straight scrap the same thickness or ever so slightly thinner as your staves with those two marks and screw it down. Your rectangular stave blanks will be aligned with the end and against the 'fence'. Now you need a couple more scraps screwed on to act as clamps to hold the stave in place. Clamp in a stave blank, run through saw, remove tapered and angled blank, repeat 36 more times (for some reason I needed 37 staves instead of 36... must've cut the circles the wrong size). Pay attention, this is repetitive work, don't get complacent or try to work too fast. Oh, cutting the circles. I tilted the table on my bandsaw match the cone's angle. I just cut in from the edge for the ring, then patched the cut afterward. More pictures. Seth Search for a Better Boating HatThis is my most recent hot weather hat that I have put together to go sailing. The outside part is an Adapt-A-Cap from Protecsun Byron Bay Australia and the inside is a light weight, lines mans hard hat. To make the hat cooler, the stitching at the front has been unpicked and replaced with a piece of rope and two brass eyelets. The top of the lines mans hat has been cut off to provide better ventilation.
Looking at the inside of the hat one can see the straps that support the weight and also the attachment points for a piece of shock cord, that goes across the brim of the inner hat, to allow the brim of the outer hat to slide underneath. Alligator clips are very useful and there are two that can be seen here, to extend the edge of the hat and keep the veil away from the face. The top of the hat has only a material cover for better ventilation and a piece of insulation attached to the inner straps. The top edge of the hard hat where it has been cut is sturdy enough to take alligator clips that can hitch up the veil in any number of positions to provide the best combination of shade and ventilation. There is still enough residual strength in the hard hat to protect from a side impact when the boom swings across, but in this regard the hat still remains to be fully tested. Charles Rablin |
