| After having built
a couple off sailing/rowing boats, It was time to
try a canoe. i couldn’t find a free design that
I found suitable so I took a look in the plans off
Jim Michalak. Imediately my attention
was drawn by the plans form TOTO.
What a beautifull design it is, nicely shaped with
a sharp bow that cuts through the waves. It slides
its way through the water so it should be easy to
paddle.
Luckely for me A good friend, Jan van de Laan who
works in the states, was kind enough to buy me a set
of plans and bring them to Holland.
So there I was, sitting behind a large, fuzzy drawing
with all the dimensions in inches, of course. First
thing to do is convert all those inches into centimeters,
then try to get the drawings onto 2 sheets of 6mm
plywood.
All the panels were sawed with a jigsaw.
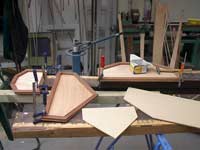 |
Preparing the
bulkheads and re-enforcing them with battens,
to make a good strong joint. |
As you can see you have to make 5 pieces and 3 will
stay in the boat. 2 are just for shaping the hull.
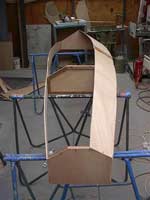
Now it's time to sew the parts together with copper
wire. I used electrical wire because that was around.
But always use copper or plastic tie wraps because
the remains of the sewing that stay in the tied seams
may not corrode.
To connect side
panels to the transom I used stainless steel screws
to be sure it stays in plays.
|
|
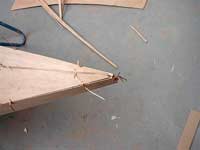 |
As you can see,
you “sew” the boat together and
all the seams don’t have to close, they
will be filled with epoxy resin later on. |
The bottom panel
was just a little too short (stupid me). But it
can be repaired easily as you see.
|
|
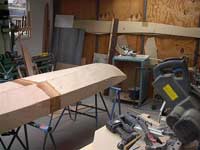 |
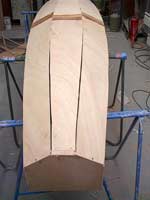
Here you can
see the butt joints that make the almost 4 meter
long panels possible. Now the nicely shaped
bow is starting to show.
|
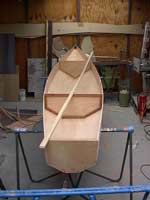
| A cross batten
keeps the hull in the right shape as we start
taping the seams. |
|
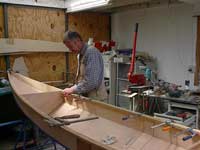 |
to make strong
sides that protect agains impact with
the shore or other boats I installed gunwales.
This helps splashing water stay out and it’s
also useful for lifting the boat out off the
water. As you can see I’m starting to
get a little grey 
|
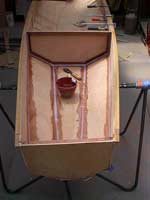
| In order to make
the canoe safe I made two airtight chambers. The
seams are closed by using epoxy fillets. This
has to be done before closing the chambers. |
|
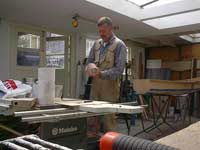 |
To make these
fillets, just add a filler (often glass bubbles)
to the resin and stir until it takes on the
consistency of peanut butter. Make sure to clean
your tools imediately after use.
|
The outside off
the hull is taped with glasfiber and treated with
epoxy resin.
I put one layer of resin on the whole hull and
then varnished 3 times. You could cover the entire
hull with glasfiber cloth, but I only taped the
seams. |
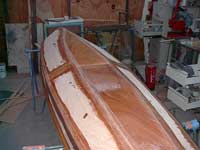
|
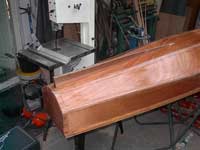 |
To keep her
on course I made a skeg. It protects the hull
and keeps the boat from paddling like a drunk.
She can still be easily turned with a firm stroke
of the paddle. |
| And there she is
with her tight and slender shape. |
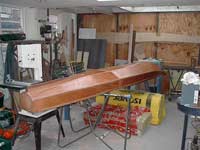
|
Then she was turned over and I installed a seat and
and support for my back. As closed, the buoyancy chambers
seemed to miss something in looks………
So I gave her inlaid wood decks.
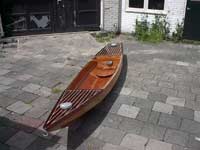 |
Isn’t
she a real beauty? The lids on the deck need
some painting, then she’s ready. |
This isn’t all that hard to do yourself. You
don’t need very expensive tools, all you need
is some guts and building space.
Good luck!! and greetings from Holland
Hilco van den Berg
You can visit Hilco's website:
https://home.planet.nl/~ber00243/webboot.html
You can purchase plans for TOTO
here:
https://www.duckworksbbs.com/plans/jim/toto/


More Toto Articles:
|