| by Tom Burton - Champaign,
Illinois - USA |
First
Post - Update
1
It's not much, but here are some photos from my first
filleting work ever. I wasted some epoxy as you can
see by the trash shot. Dad has the sail done and is
concentrating on finishing hatches spars and mast.
He's coming down in early May to spend a week so we
can get this thing done by the Midwest Messabout!
We're both pretty eager to go.

Down in the bottom of my waste bucket,
we see the remainder of the peanut butter, er, epoxy
putty in a ziploc bag. This is a method that Jim Michalak
endorses in his boat building book. It worked pretty
well, til it sprung a leak very near the original
hole. Basically, you take a zip lock bag, put the
epoxy putty in it, then snip a corner off. You can
then squeeze the bag to deliver the putty to the area
you want to fillet.

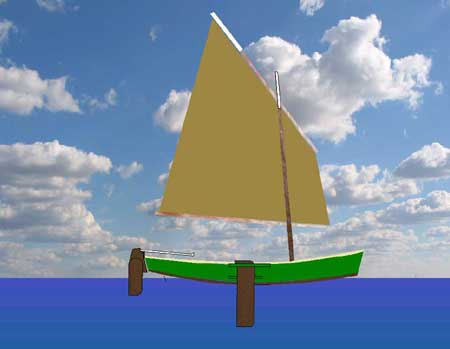
This is a color scheme that I did using
an old program called Top Draw. I snapped digital
photo of the plans of the Mayfly from Jim's book (Boat
Building for Beginners and Beyond). I imported the
photo into Top Draw and traced the profiles of the
lines in the plans in order to create polygons that
could be easily filled with different colors. From
here, I filled the various polygons with various colors
(or in the case of the mast and spars I filled them
with bitmap images (!) a neat feature the software).
I put a bitmap of a pretty sky behind that, saved
the file out as a bitmap, and voila. Unfortunately,
Top Draw is no longer available for download, but
I'm sure you could do the same thin in Visio, or some
other such program.
These are various shots of the filleting. Not super
pretty, but good enough for under the aft deck I hope.

Here I am in my respirator from 3M (model 07178).
This worked great. It's a basic paint respirator with
active carbon cartriges, and additional cloth filters
in front of those. I could smell absolutely no epoxy.
I assume this is good enough for epoxy fume protection.
Let me know if I'm mistaken!
|