Spring Refit
by Tom
Beck
First boats are sort of like first
cars. Despite the quirks and idiosyncrasies (In my day first cars
were seldom brand-new), one grew attached to them, and, when the
time came, hated to see them go.
A couple of years back I discovered
amateur boatbuilding. Several months after my discovery (“Six-hour
canoe” only applies if you know exactly what you are doing.),
my boat was done. It was rugged (a.k.a. grossly overbuilt) and
really should have had the sides made from a full 16’ of
plywood, rather than 14’. Its amazing how huge 16’
looks in a small garage. My two-sheeter also turned into a three-sheeter
when I decided, somewhat arbitrarily, to make the bottom 32”
wide. Too bad my second-grader wasn’t there - 48”
minus 10“ minus 10“= 28”, not 32”. A later
scheme to add canoe-style seats made it too tipsy for my taste,
especially with kids, but the rails stayed because they made it
so much easier to pick up and carry.

All in all, in the workshop and
on the lake, we’ve had a ball with it. And every spring,
I gotta tinker.
I realized that, even with two
people aboard, I never sat behind the aft rib...so why not put
that space to good use? How about some emergency flotation, as
well as a redesign of the stern so as to keep my waterline length,
but eliminate some of the overall length. And as long as I’m
enclosing a compartment, why not make it accessible to throw in
anything I need to keep dry?
First, I made a transom from 3/4
ply. I beveled the sides and bottom for a good fit, and installed
it with PL Premium. Next came a bulkhead, which I attached to
the aft frame. After an overnight cure, it was time for the amputation.
My Japanese pull saw did a beautiful job - every boat builder
should have one. By the way, my family’s chorus of “WHAT
IN THE WORLD ARE YOU DOING TO THE BOAT????” was quite memorable.
“Oh, nothing much. Its kinda heavy, so I’m sawing
one end off to make it lighter.”
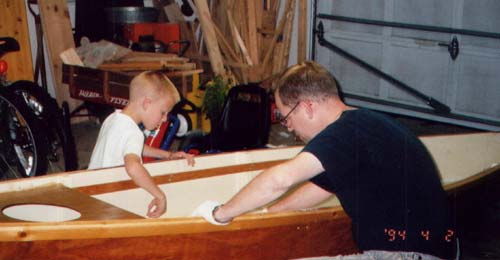
Tape and 'glass finished off my
transom installation. Next I installed battens all the way around
to support the deck. My Delta Table Top Band Saw did a beautiful
job on these. Then I cut out the deck , complete with a hole for
the hatch. This also went on with PL. Except for the transom,
I didn’t go for a “perfect” fit - PL does a
fantastic job of gap-filling. Just don’t get too carried
away with it where appearance is an issue - it does expand when
it cures. Wood putty took care of the rest.
To cut out the hatch, I drove a
finishing nail through a strip of ply and clamped it to my saw
at the desired radius. Then I simply rotated the wood around.
The top and bottom of the hatch were sandwiched together, and
a wooden cabinet knob was attached with a screw eye. A bungee
cord attached to the bottom of the boat allows it to be removed
when needed, and some weatherstripping around the edge keeps it
watertight.
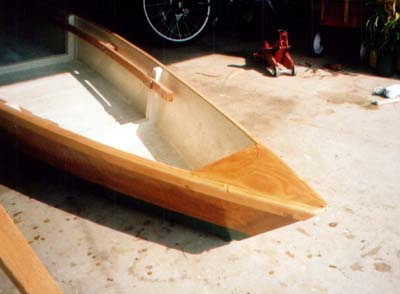
Almost as an afterthought, I cut
a radius in the breasthook to make the boat easier to tie down.
Its amazing how a little detail like that prettys up a boat's
lines!

Finally, some paint and varnish....

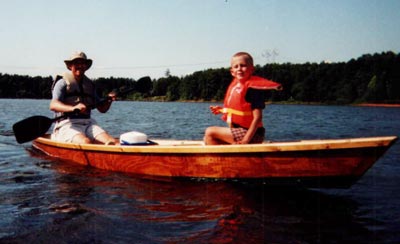
....and the finished product.
|

