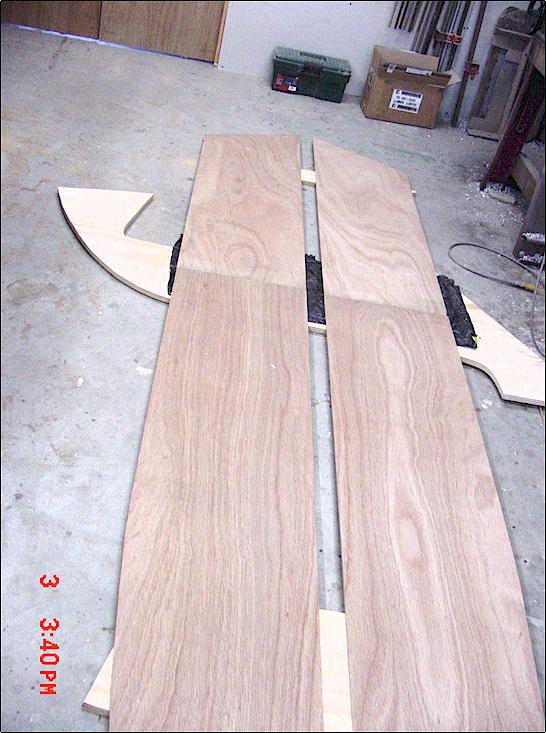
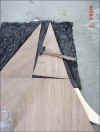
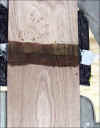
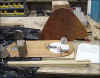
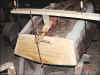
| I started with two sheets of 1/4" lauan ply. The
first is ripped into three 16" wide panels. Two of these are cut to
the rocker of the aft part of the boat. |
 |
| I guess I want to build new boats because I think the
new boat will be better than the last one. The same goes for
techniques. I am always trying new stuff in hopes it will be
wonderful. I tried something new for making taped butt joints.
My floor is so uneven that using weights to hold the joint together
doesn't work very well. What I did was to use one inch finish nails
(how many pennies is that) to tack the pieces down to a piece of scrap
3/4" ply with some poly film inbetween. I'll pull the nails out
after the joint cures. We'll see |
 |
| I did not have any bi-axial tape on hand, so I cut some
cloth on the bias for taping these joints. |
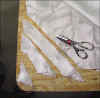 |
| Here are the side pieces tacked to a piece of scrap
3/4" ply in preparation for taping. |
 |
| Side panel joint taped. |
 |
| Next Day: Now it is time to test the new process.
I used a big screwdriver to pry the cured joint up - it came with
surprising ease. Some of the nails came up with the joint, and some
pulled through the wrong way, staying in the scrap below. |
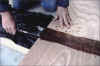 |
| Then I simply pulled the nails (spaced every 6-10
inches) with a pair of pliers. It worked great. The joints are
perfectly flat, and nothing stuck to anything it shouldn't have. |
 |
| I turned everything over and lightly sanded the other
side before taping it. No pictures, but I cut out the transom, the
frame, the rudder, and the rudderhead too. |
 |
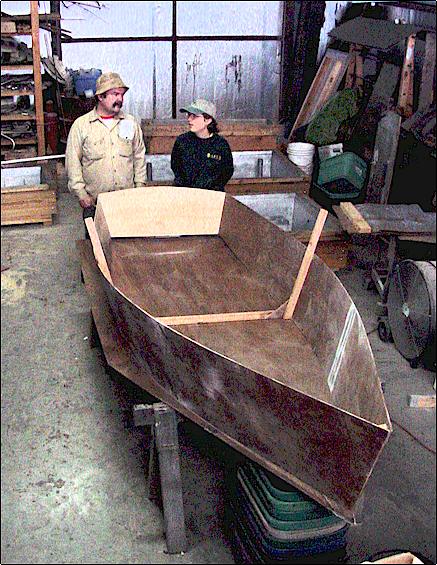
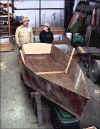
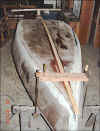
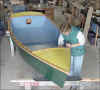
| Funny how boat building brings out the tourists.
This is my brother, Louis, and my daughter Audrey. I put the bottom
across a couple of saw horses, and temporarily attached the transom and
frame to the sides. The somewhat darker appearance of the plywood
here results from priming with a mixture of 2 parts epoxy resin, and 1
part lacquer thinner. |
 |
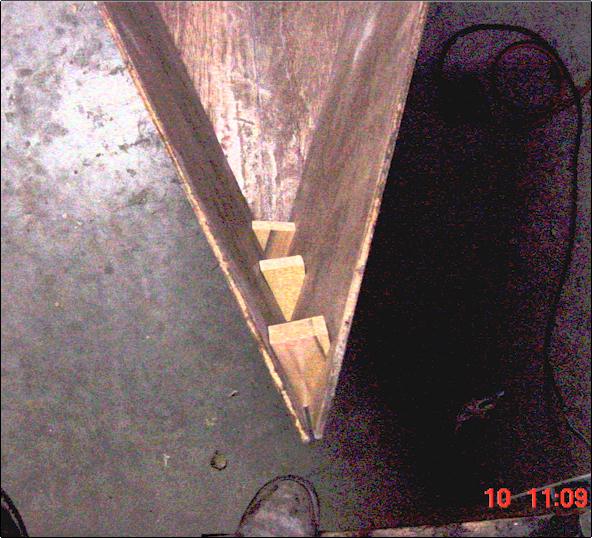
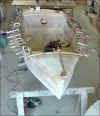
| On the bow, I made a couple of blocks to hold the sides
in while I weld the thing together |
 |
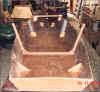
| When everything is pretty straight, I take a bevel
gauge and measure the angle halfway between the transom and the frame. |
 |
| Then I cut a block to that angle, and screw it to the
side and bottom so that the edges form a "V" for welding. |
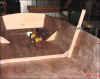 |
| Now, I go all around the bottom/side joint measuring
and screwing in blocks. Some builders reccommend tying the joint together
with wire or cable ties, but I prefer the blocks. It's a matter of
taste. I also watch for fairness in the shear line, and try to help
make it better with clamps and blocks of wood (see stick near bow) |
 |
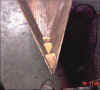
| Here I part ways with a lot of stitch and gluers again.
Mostly you hear to fillet the inside first, then do the outside. I
'weld' the outside first. Make sure and paint the joint with liquid
epoxy first so it won't starve, then use a paddle to lay thickened resin
in the 'V' formed by the bottom and side. |
 |
| In this picture I have 'welded' all the way around the
bottom, and down the stem. Now wait until the epoxy set's up. |
 |
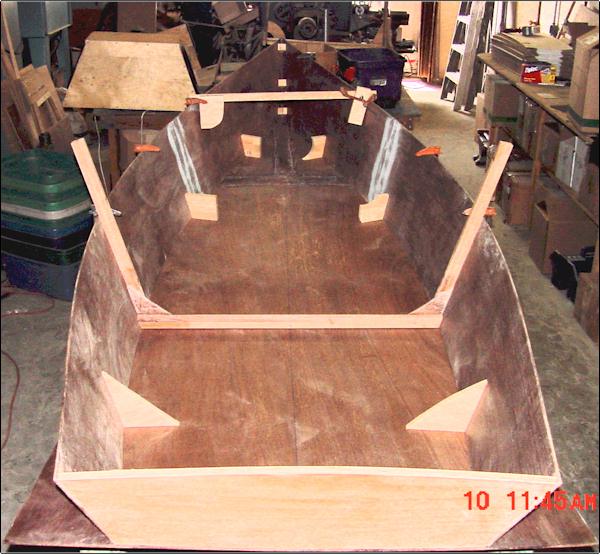
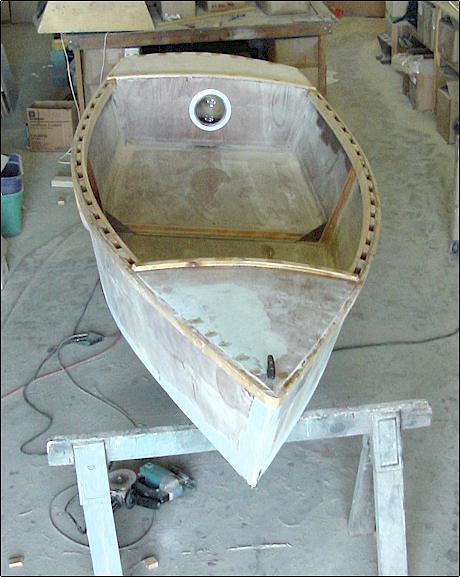
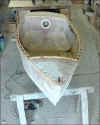
| The next day, I knocked the blocks out, and inserted a
couple of bulkheads. Then I filleted and taped the inside of the
joints throughout the boat |
 |
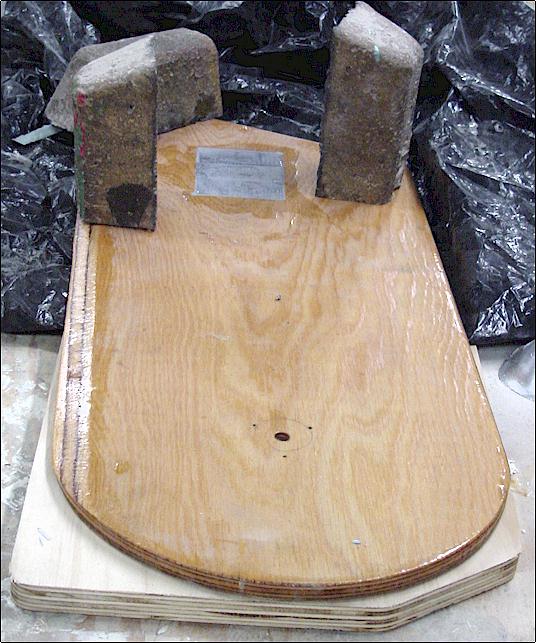
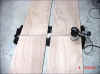
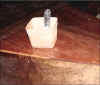
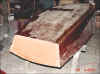
| Unfortunately, I did not have a lot of time to work on
SB this weekend. I did get the rudder blade, head, and tiller cut
out, and the pintles and gudgeons fitted. In this picture, I have
glued a couple of lead weights into the lower end of the blade.
There are weights holding everything down, and some black trash bag
material underneath. |
 |
| Here you can see the parts of the rudder assembly all
together. The tiller is in front, the head is in back and the
pintles and gudgeons are on the Teflon washer. |
 |
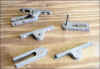
| This close-up shows the pintles and gudgeons.
These are made from raw castings which we will soon sell in our
store. You can see the castings at the bottom of the picture.
Finished parts are shown above. |
 |
| I also managed to get the outside chines sanded down
and taped, and the forward and rear decks cut out. |
 |
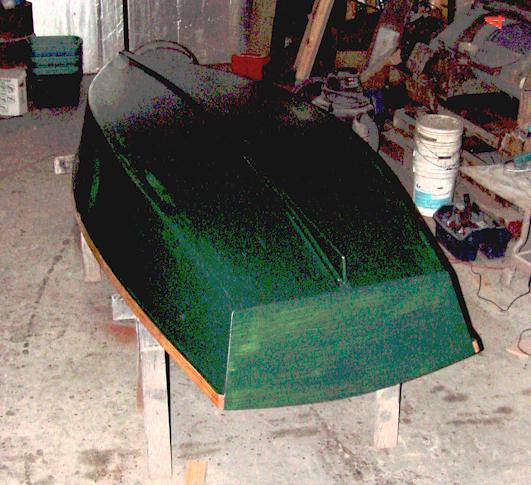
| I tried another experiment (I can't help myself!) on
the seams: while the epoxy was still tacky, I spread polyester body filler
(Bondo) over the tape, sort of the way a drywall floater does with
plaster. In theory, this lets the epoxy bond to the polyester.
Later, I use a random orbital sander with a 50 grit disk to smooth
everything out. It seems very smooth. When the paint is on, we
will know for sure. |
 |
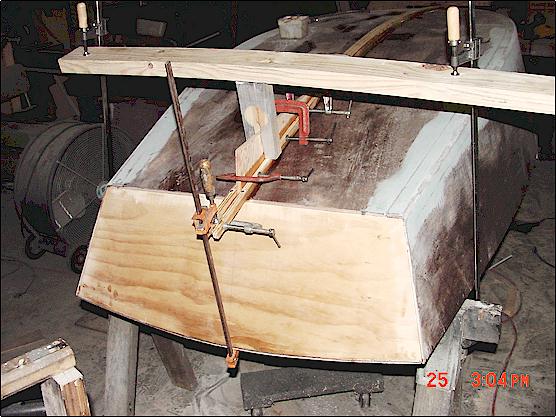
| The previous picture and this one show the "keel" being
glued to the bottom. There are screws from the inside every foot or
so, and some creative clamping on the ends. |
 |
| You've seen this picture a thousand times: The
gunnels clamped together with every clamp in the county. |
 |
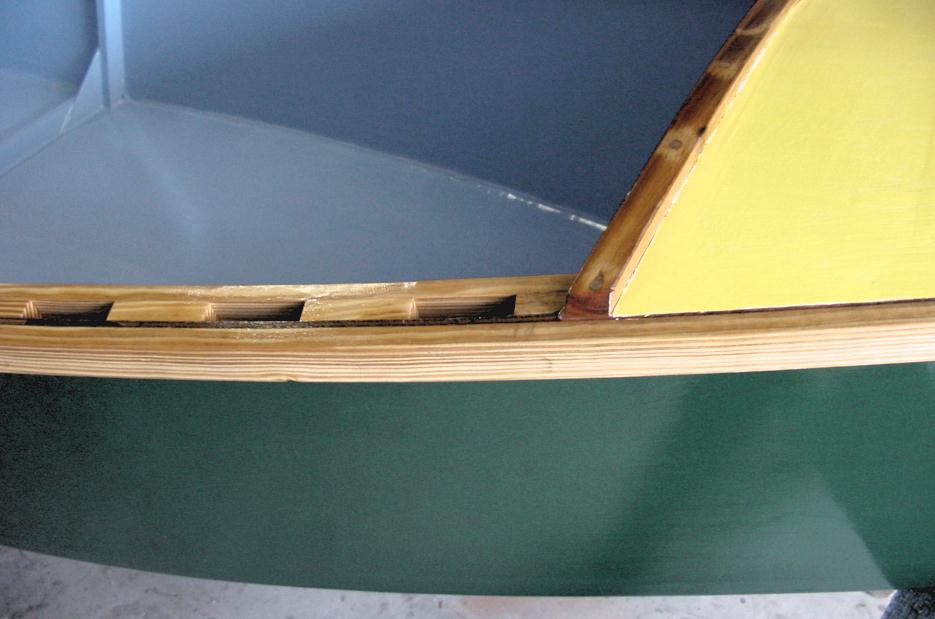
| I used some clear yellow pine strips ripped from an
8x10 for the gunnels. The inwale and the outwale are separated by 3"
long blocks of the same material. I think this looks good, adds a
bit of strength, and provides places to tie things. |
 |
| We are using glossy latex enamel exclusively on this
boat. I have used all kinds of paint, and this is the best. |
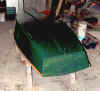 |
| Sandra likes to paint, and I had other work to do that
day, so she did the honors. In truth, she does a much better job. |
 |
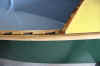
| Here is a closeup of the gunnel - front deck
intersection. |
 |
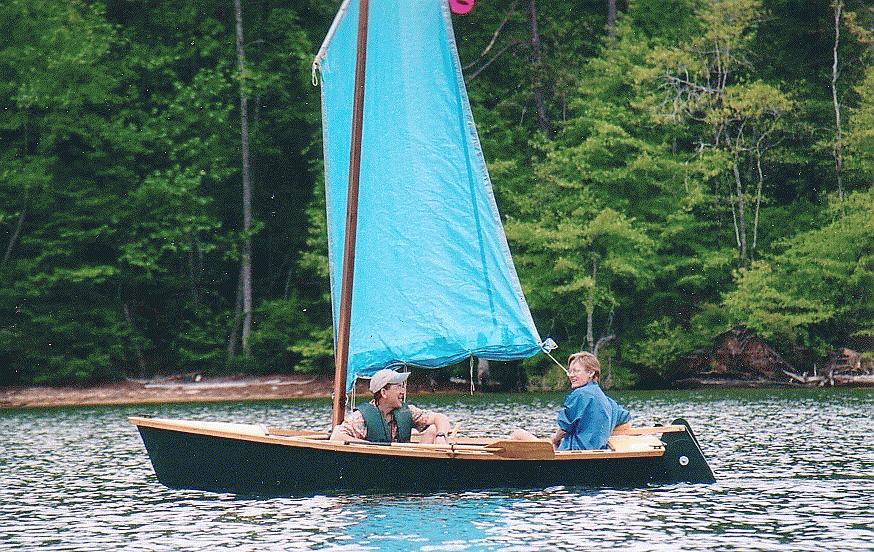
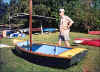
| Summer Breeze makes the Conroe Messabout. |
 |
| Sandra and I sailing Summer Breeze at the Southeast
Messabout at Lake Martin in Alabama. (photo by Maddog) |
 |
| Two Summer Breezes finally meet at Cedar Key.
David Beede (the designer) is sailing the one on the left, I the one on
the right. (Photo by Julie Johnson) |
 |
|
|