 |
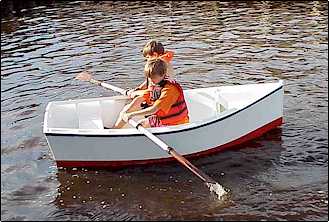
| Two Sheet Skiff Mike Goodwin, artist, musician, and
boatbuilder, put his designers cap on and came up with this great skiff which can be built
with just two sheets of plywood. He was kind enough to send the following letter and
pictures. Contact Mike at: panmanii@pinn.net |
|
| Chuck,
Here are some thoughts and ideas
behind the "USA Skiff" ( that is what the kids named it , so that is the design
name).
|
| It all started when I was fixing
the chains for Tim & Ross on their bikes. They wanted to know why I wasn't around for
a few days , when I told them I was working on building a boat for someone , they said
" boy, I wish I had a boat " . With fond memories of building boats as a
lad I decided to design a kid's boat . So I fired up Plyboats and decided to make a 2
Sheet Skiff . |
|
 |
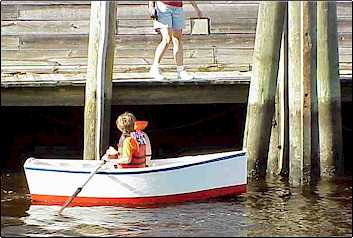
It had to meet
these criteria;
1) easy to build
2) cheap to build from 2 sheets of ply plus scraps
& a few 1x4's
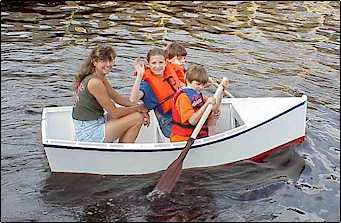
3) stable
4) carry 500 lbs.
5) car-topable |
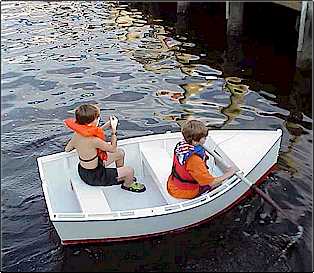
The boat was built for under $100
in materials , it could cost more if you wanted to use exspensive ply,a hardwood transom
,varnished seats, etc.
Since this was a prototype it was to be built of
luan ply, a scrap piece of MDO ply for a transom and some 1x4's of cedar and fir that I
had laying about. I used about 38 feet of fiberglass tape for the seams and remains of
some epoxy. |
 |
 |
Regardless of you choice of materials ( I just
happen to have access to proven waterproof luan ) the construction is the same for cheap
luan or pricey okumme . |
To build the boat;
1- ripped 2 planks ,18" wide from a sheet of
ply and stacked them.
2-layed out side panels and cut them out while
stacked and clamped.
3- made stem stock ,by rabbeting 2 sides of a 2x2
piece of fir to receive sides |
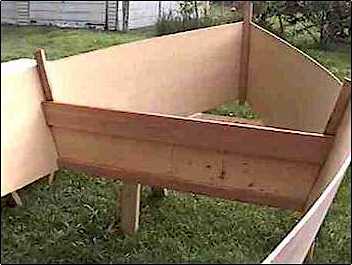 |
4-epoxy & screw sides into stem
, careful to keep them aligned top to bottom
5- while stem is setting up make main frame &
seatsupport
6-install frame at proper station to establish max
beam using thiskened epoxy and a couple of screws ( I use stainless drywall screws ) |
7- make a spanish windlass and draw
sides inward at stern and fit transom , epoxy and screw in place
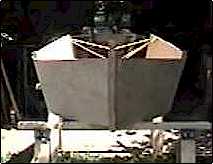
8- when epoxy has set up flip hull upside down and
trim stem bottom and transom frames flush with side planks
9- install half frames where needed |
 |
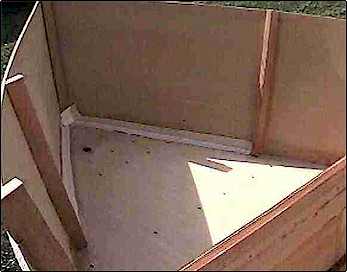
10-with hull upside down , lay a
sheet of ply on boat ,align for best ecconomy of cutting , scribe and cut bottom .
11- I put a screw in the bottom at the stem , frame
and transom to hold in place.
12- now sand bottom ,or plane bottom flush with
sides and slightly round over chine so glass tape will lay smoothly. |
 |
13-paint chines with epoxy and roll
out tape into wet epoxy ,add a second coat of epoxy to tape.
14- flip boat after epoxy is cured and tape inside
chine .
15- build forward bulkhead for mini-cuddy ( at some
point paint everything with epoxy as a sealer , 3 coats maximum )
|
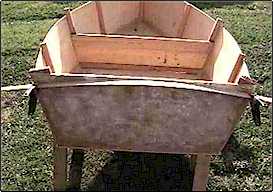
| 16- spring a batten across transom top to create an
attractive curve and trim to line. |
 |
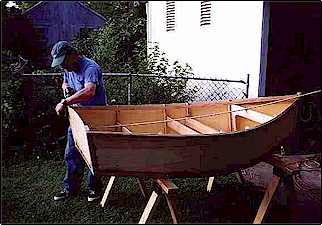 |
17-trim frame tops and install
rubrail with epoxy and lots of clamps
18-install foredeck ,seats and flotation foam under
seats |
19-install keel and skeg
20-I laminated a sheer clamp in place after
breaking 2 pieces of fir when trying to pull into shape .
21- make up blocking for oarlocks and epoxy in
place |
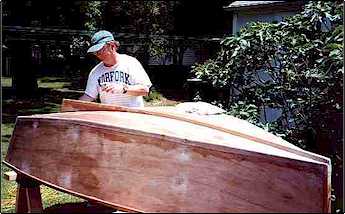 |
22- sand everthing , prime it and paint it
23- Give it to a couple of 9
yearold boys dying for a boat of their own.
There can be more steps and details if you like or
some can be eliminated . I am preparing to build about 6 more and will make more detailed
and documented instructions as these progress to completion . I plan to offer a CD-rom for
a fee that will have plans, photos and even movies of details of construction.
The boat will have a sailing rig.
Mike |


|